- Published on
Optimize your macOS Setup for Azure and AKS Development
- Authors

- Name
- Alexander Arana Escobedo
Intro
Working with Azure on macOS—especially when you’re using AKS (Azure Kubernetes Service) gets a lot easier when your local environment is properly set up. Over time, I’ve found a handful of tools and configurations that really improve the developer experience on a Mac.
In this post, I’ll walk you through a selection of tools that I personally find useful for daily work with Azure and AKS. It’s not a complete list, but it’s a solid starting point if you want a smoother and more productive terminal setup on macOS.
iterm2
Start by installing iTerm2 a powerful terminal replacement for macOS. It offers better customization, split panes, search, and other features that make working in the terminal much smoother than the default Terminal app.
Install homebrew
Homebrew is the go-to package manager for macOS. It makes installing and managing CLI tools simple and consistent.
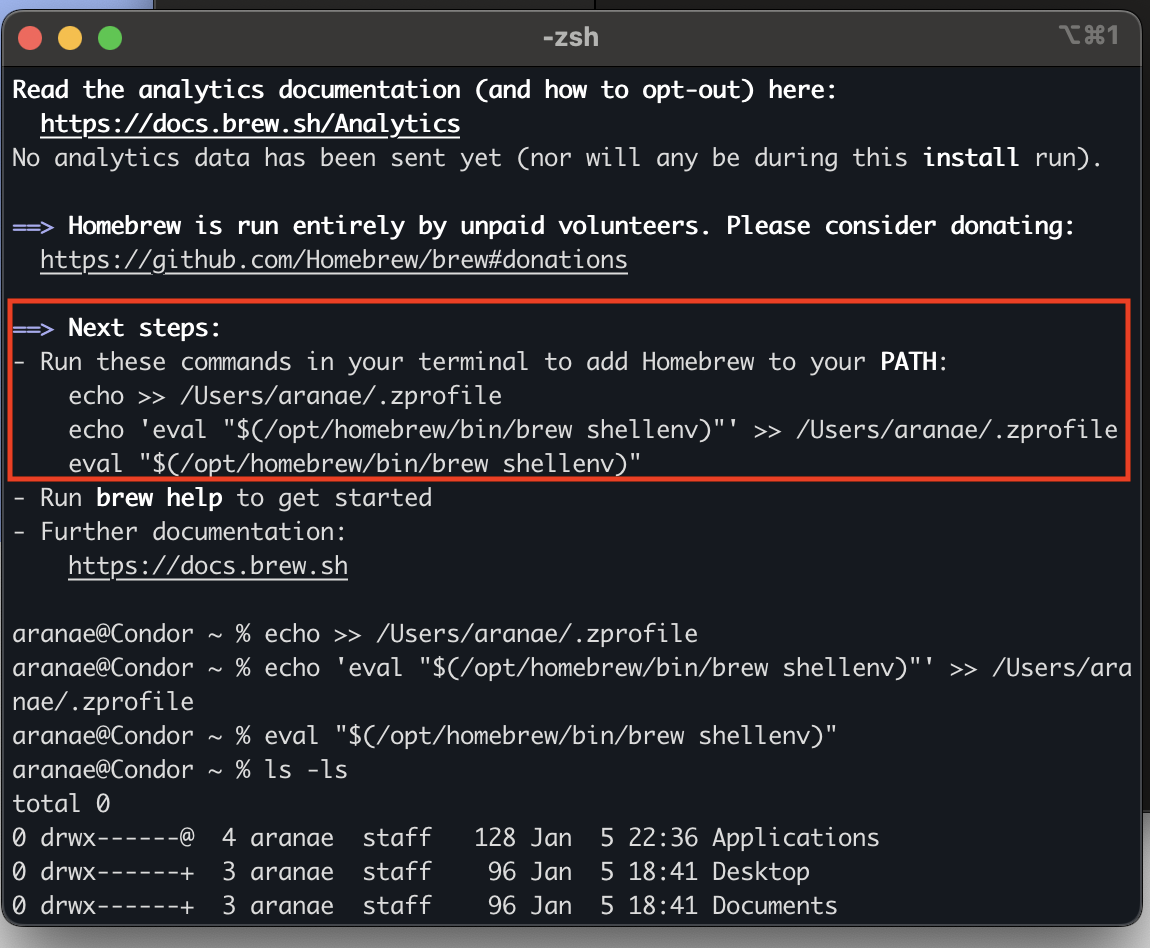
To install it, open iTerm2 and run:
'/bin/bash -c "$(curl -fsSL https://raw.githubusercontent.com/Homebrew/install/HEAD/install.sh)"'
Follow the instructions under Next steps to finalize the installation.
Install Powershell 7
brew install powershell/tap/powershell
To verify it’s working:
pwsh
If the output shows a version number, then PowerShell is successfully installed.
Install azure-cli & kubelogin
Next, install Azure CLI and kubelogin, which is essential for AKS authentication.
brew update && brew install azure-cli
brew install Azure/kubelogin/kubelogin
What do these tools do?
- Azure CLI (az): The main tool for managing Azure resources from the command line—create, configure, and inspect services like VMs, AKS, storage accounts, and more.
- kubelogin: A plugin for authenticating kubectl access to Azure Kubernetes clusters using Azure AD. It simplifies secure access to AKS clusters
💡 Tip: If you’re using a standard user account on macOS (i.e., an account without admin privileges), just run brew install azure-cli.
Install istioctl & Helm
If you’re working with Istio as a service mesh in AKS, and managing deployments with Helm, you can install both tools using Homebrew:
brew install istioctl
brew install helm
- istioctl helps you install and manage Istio, apply configurations, and troubleshoot service mesh traffic in Kubernetes.
- helm is a Kubernetes package manager that simplifies application deployments using reusable charts—especially useful for managing complex setups like Istio on AKS.
Install FluxCD cli
brew install fluxcd/tap/flux
To verify it’s working:
flux --version
Install Oh My Zsh
Oh My Zsh is a framework that enhances your Zsh shell with themes, plugins, and useful features like aliases, auto-suggestions, and Git support (Git is also installed as part of the setup).
Install it by using this command:
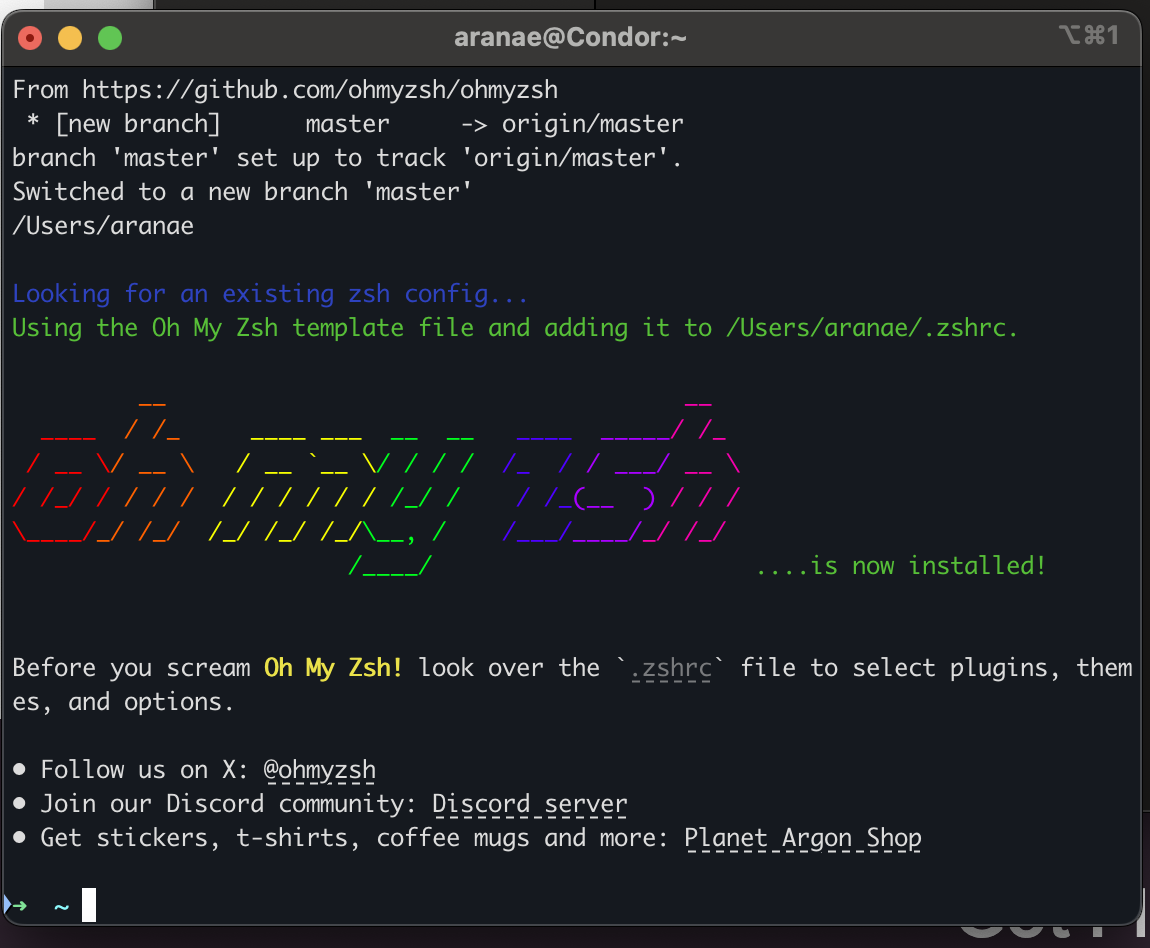
sh -c "$(curl -fsSL https://raw.githubusercontent.com/ohmyzsh/ohmyzsh/master/tools/install.sh)"
The output should look like:
💡 Tip: If you don’t see a .zshrc file in your home directory, create it with:
cp .oh-my-zsh/templates/zshrc.zsh-template ~/.zshrc
Install Oh my Posh
Oh My Posh gives you a modern and customizable terminal prompt, compatible with Zsh, Bash, and PowerShell.
Install via Homebrew:
brew install jandedobbeleer/oh-my-posh/oh-my-posh
Then install a compatible font:
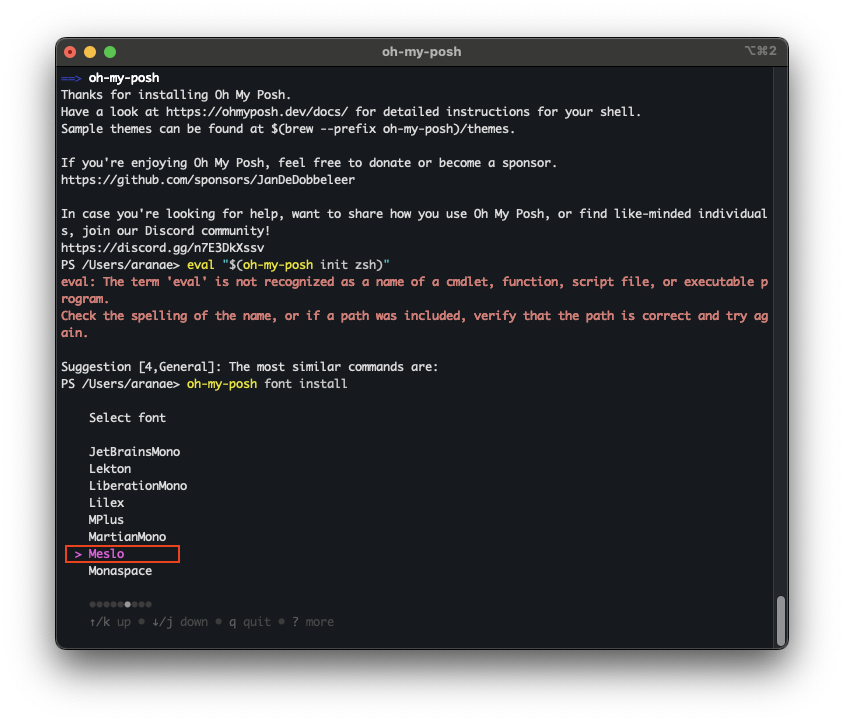
oh-my-posh font install
Use the arrow keys to select Meslo, then press ENTER.
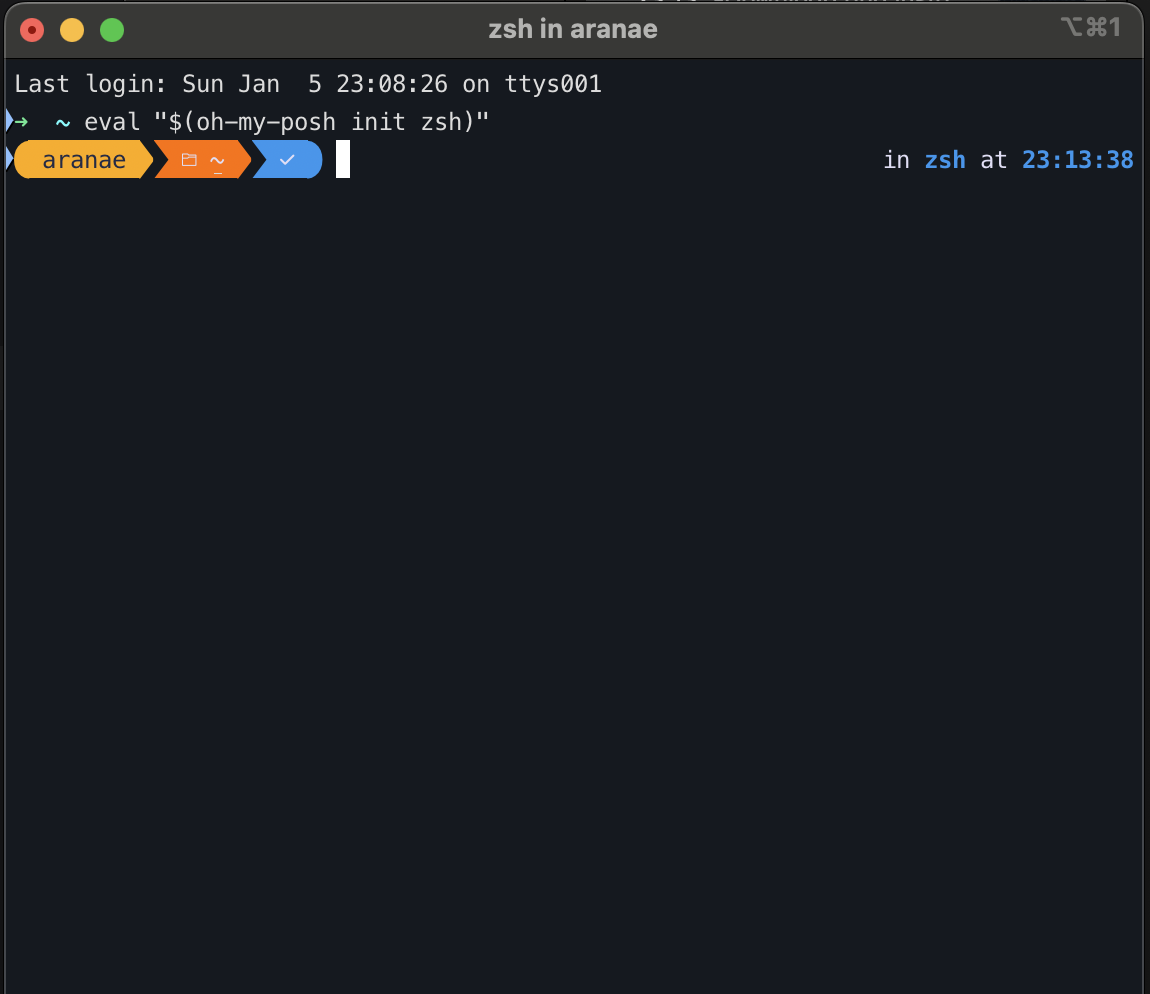
Test it with:
eval "$(oh-my-posh init zsh)"
It should now look something like this:
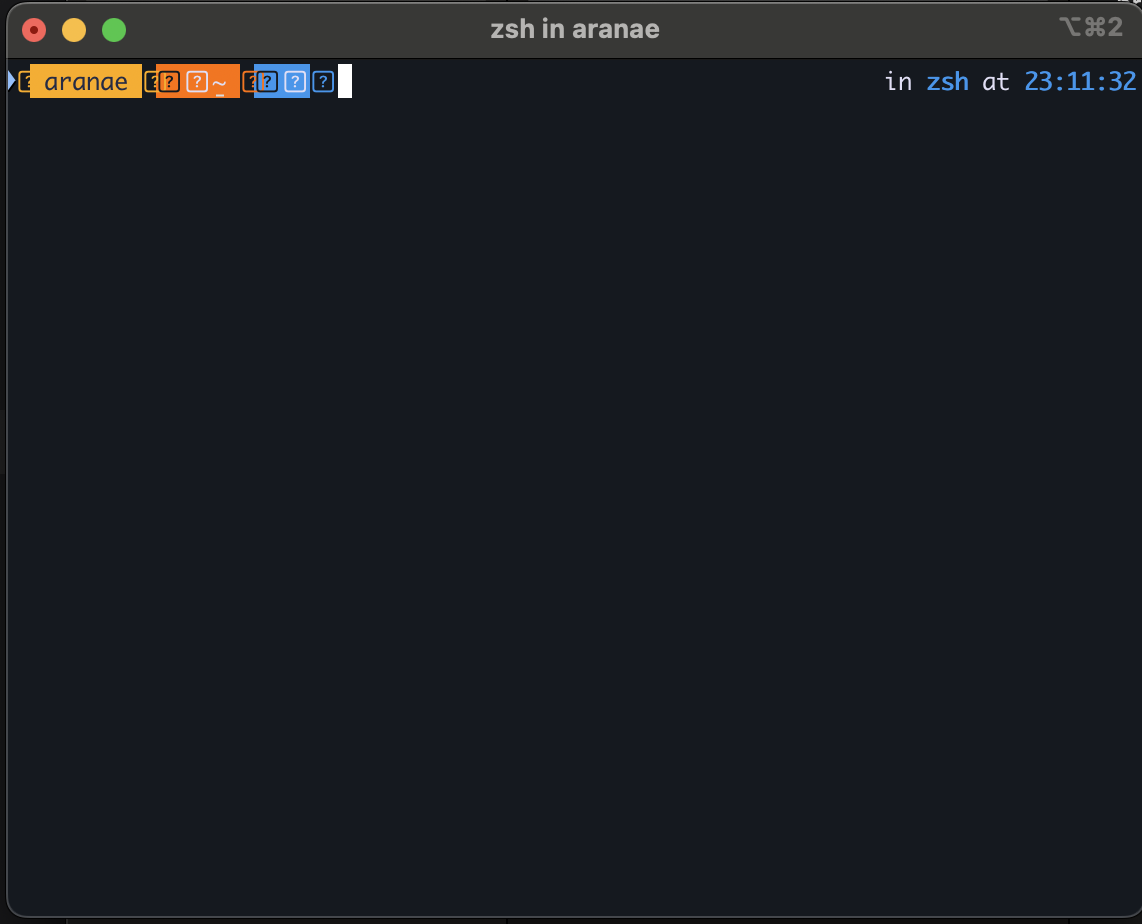
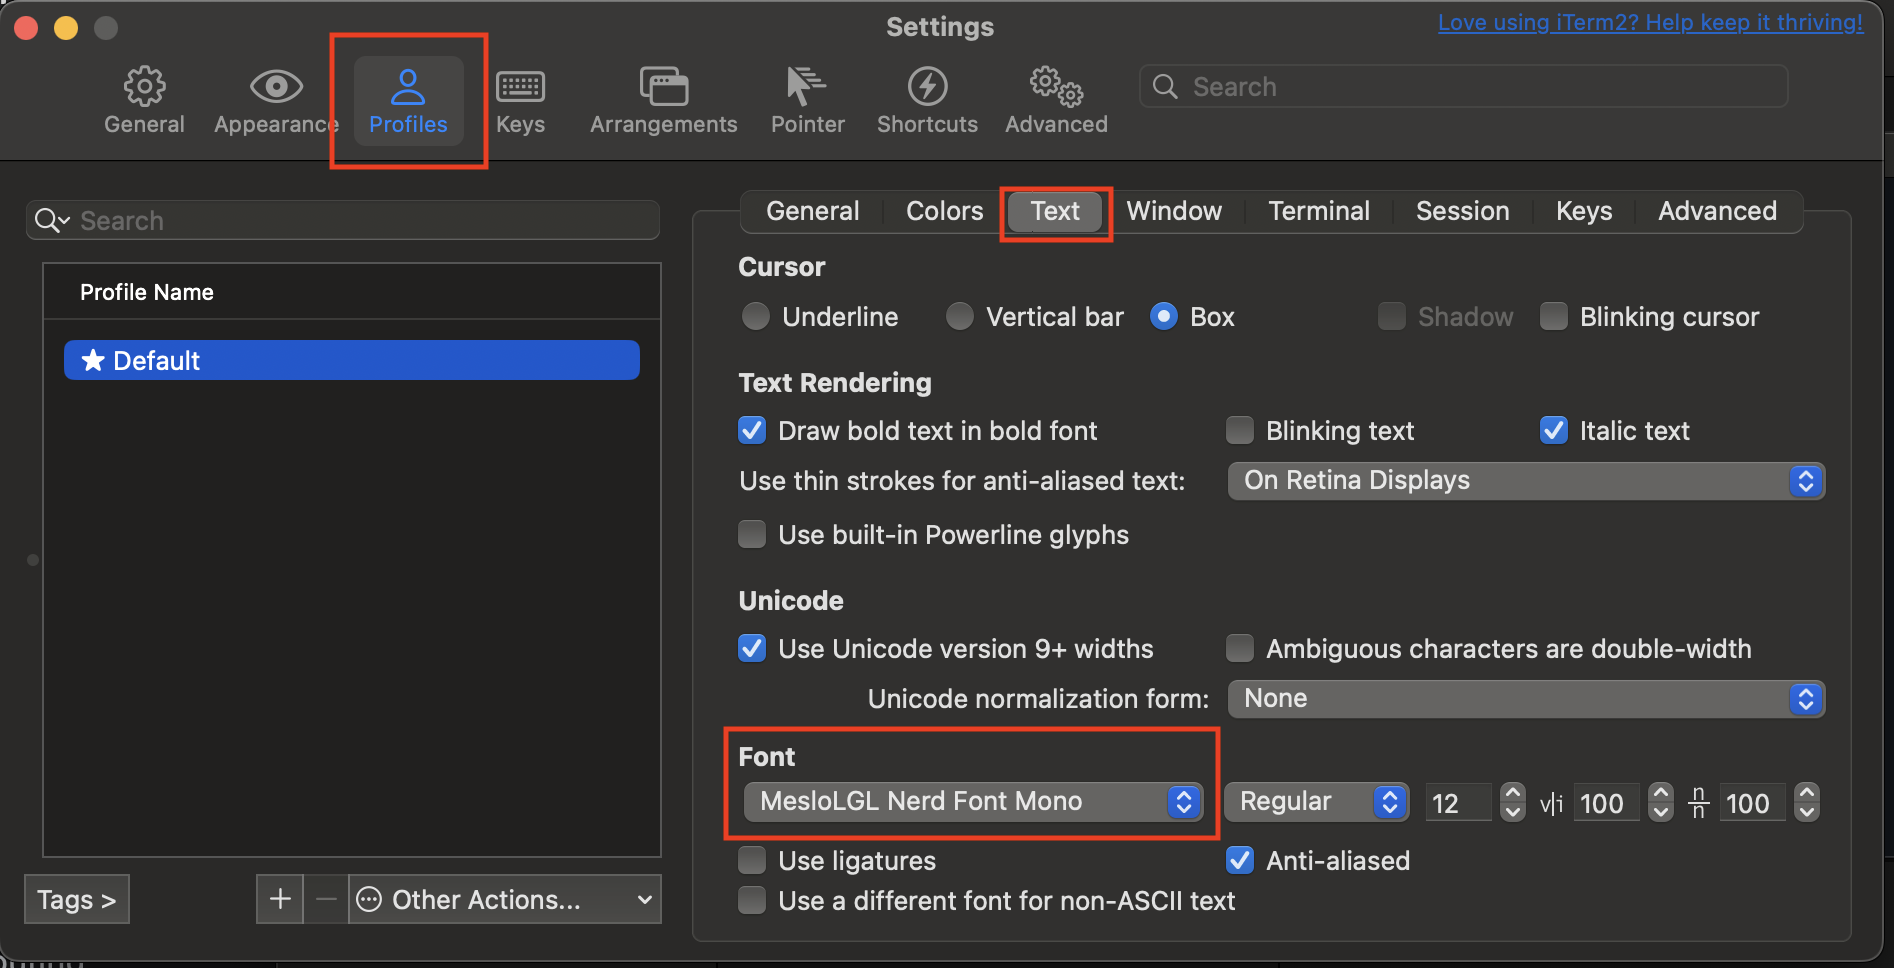
To make it look correct, go to:
iTerm2 → Settings → Profiles → Text → Font → MesloLGL Nerd Font
And voilà! A clean, powerful terminal setup 🤓
Set Up Oh My Posh to Load Automatically
To have Oh My Posh automatically loaded with every terminal session, add the init command to your .zshrc file:
open ~/.zshrc
Add the following snippet as the last line to ~/.zshrc:
#Oh-My-Posh
eval "$(oh-my-posh init zsh)"
Nice! Your macOS is now ready for Azure development—especially with AKS. This setup gives you better visibility, smoother workflows, and a more efficient terminal experience 🤩
I hope this guide helps you out! If you have any questions, don't hesitate to reach out.
Alexander Arana.E